A kitchen without a strainer lacks an indispensable tool, rendering it incomplete for daily household activities. While strainers are commonly present in various areas like bathtubs and showers, their significance in the kitchen cannot be overstated. In this discussion, we'll delve into the vital role they play in kitchen tasks and provide guidance on replacing them in case of damage.
.jpg)
Proper drainage is essential to prevent plumbing issues and water damage in your kitchen. The presence of solid objects and the force of water flow can pose significant risks to your plumbing system. Without a strainer, these solid particles can accumulate and potentially clog your main drainage lines, leading to further complications with other kitchen fixtures and appliances. Neglecting to address these issues promptly can result in costly repairs or replacements. Manufacturers often incorporate strainers into kitchen sinks to facilitate the flow of water while preventing larger items from entering the drainage system. Positioned at the opening of the sink, these strainers act as barriers, capturing debris and allowing water to pass through freely. Their basket-like design serves to collect larger particles and debris, making it easier to remove and clean them later. Beyond maintaining proper drainage, kitchen strainers also offer protection against water overflow and the infiltration of small objects into your plumbing system. Their presence ensures that your kitchen remains functional and free from potential water-related hazards, making them an indispensable component of any kitchen setup.
Before delving into the process of replacing a kitchen strainer, it's essential to recognize the diverse array of styles available in the market. Understanding the specific style and configuration of your sink strainer is key to ensuring a seamless replacement process. One of the most fundamental types is the Drain Strainer, which serves the primary function of facilitating water drainage from the sink. Easily removable and installable, this basic strainer is a common choice in many households.
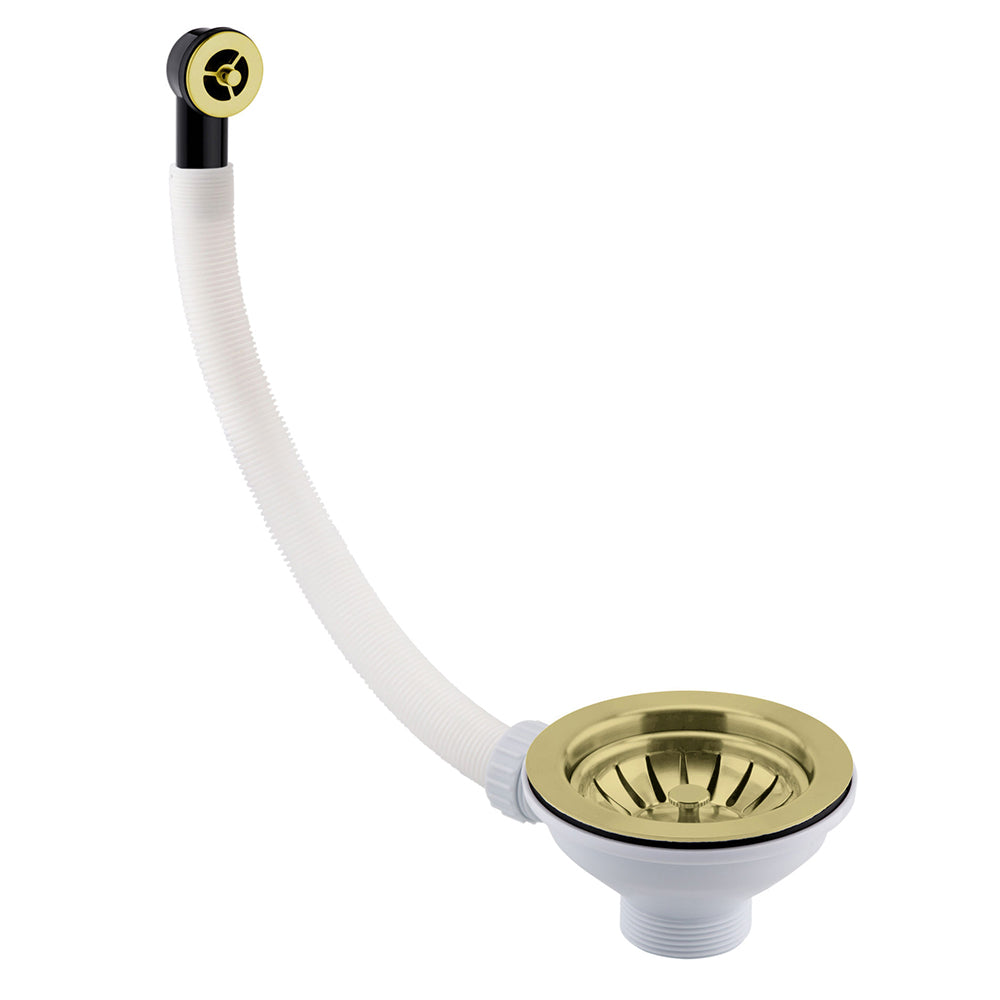
Disturbances in water flow can often lead to the displacement of kitchen strainers, potentially resulting in leaks, especially if the plumbing fittings are old or worn out. To effectively address this issue, it's crucial to determine whether the problem lies with the fittings or the strainer itself. One way to do this is by inspecting the joints underneath the sink for any signs of looseness or damage. Tightening these joints and checking for any subsequent leaks can help pinpoint the source of the problem. If the joints are secure and no leaks are detected, it's likely that the strainer requires replacement. However, it's important to consider the possibility that loosened fittings may have been caused by the passage of large objects or turbulent water flow, necessitating the replacement of both the fittings and the strainer. Before proceeding with the replacement process, gather the necessary tools and materials, including plumber's putty and a channel-type wrench, along with the new strainer. Ensure that the replacement strainer matches the model of your sink, whether it's a stopper, double cup, or simple drainer, to ensure compatibility and proper functionality.
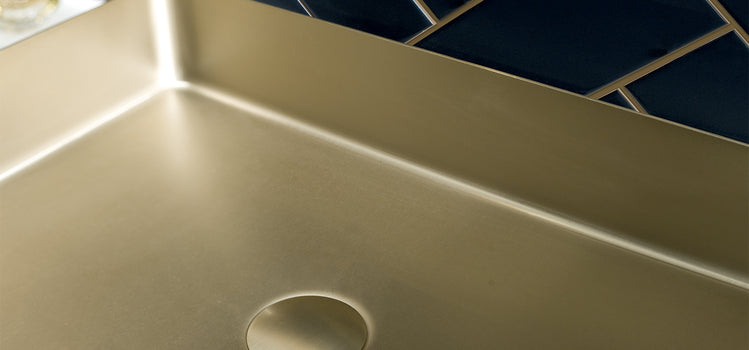
When upgrading your kitchen fixtures, it's important to consider not only functionality but also aesthetics. If you're interested in exploring elegant options for kitchen waste disposal, you might find this comprehensive guide on Unveiling the Elegance of Gold in Kitchen Waste Disposal useful.
Step 1 – Discard the Strainer
Removing the kitchen strainer is a relatively straightforward process that requires minimal skill. Begin by disconnecting the pipes attached to the strainer located underneath the sink. Using your hands, carefully disconnect the pipes to ensure a smooth removal process. Next, utilize channel-type tools to loosen the nut securing the strainer. Typically located beneath the sink at the drain fitting, this nut may require some effort to loosen. Once the fitting and pipe are disconnected, proceed to remove the strainer. For stubborn strainers, pliers may be necessary to facilitate the removal process. Apply gentle pressure and twist the strainer to release it from its position. With the strainer successfully removed, you can proceed to the next step in the replacement process.

The nut securing the strainer is typically situated on the tailpiece, which becomes visible upon removing the pipe fitting. Over time, corrosion from water leakage and aging may make the nut challenging to remove. In such cases, applying penetrating oil can help to loosen the strainer's grip. Utilizing pliers, carefully work to loosen the nut from the tailpiece. However, if the nut proves stubborn, penetrating oil can be invaluable in facilitating its removal. Allow the penetrating oil to seep into the threads, effectively loosening the strainer's hold. Once the nut is successfully removed, carefully lift the strainer from the top, ensuring not to damage the surrounding area. With the strainer freed from its position, you can proceed with the replacement process.
Step 2 – Cleaning and Preparing
Now, it's time to prepare the sink for the replacement by thoroughly cleaning it. Before installing the new strainer, ensure the sink is free from any remnants of old plumber's putty. If left in place, it can lead to leaks and disrupt the proper placement of the new strainer. To remove the old putty, an abrasive or putty knife can be used effectively. Once the old putty is removed, clean the entire sink surface with dishwashing detergent to ensure it's free from any residue. Take care not to allow any remnants of the old putty to fall into the sink's opening, as this can cause issues during installation. Next, disassemble the components of the new strainer and clean them thoroughly with a cloth. Additionally, loosen the retainer screws typically found on the strainer to prepare it for installation. This ensures that the new strainer is ready to be securely fitted into place without any hindrances.
Step 3 – Replace the Strainer
Before installing the new strainer, apply plumber's putty around the underside of the strainer lip to create a watertight seal. Ensure the putty is pliable by kneading it with your hands if necessary. Once it's soft enough, mold it around the perimeter of the strainer's underside so that it fits snugly against the sink opening. Now, carefully position the new strainer in place over the sink opening. Begin by inserting the metal and flexible washers onto the strainer from underneath the sink. Once the washers are in position, flip the sink strainer over, aligning it with the opening in the sink. Then, secure the strainer in place by tightening the retaining screws onto the tailpiece located beneath the sink. Be cautious not to overtighten the screws, as this can cause damage to the rubber washers and compromise the seal. Concluding Thoughts Replacing a kitchen strainer is a straightforward process that can be completed with minimal effort. After securing the new strainer, reattach the drain pipes to the sink to ensure there are no leaks. To test for leaks, fill the sink with water without allowing it to drain. Then, apply sudden pressure to release the water. This helps to immediately identify any leaks, which may not be readily visible if the water drains slowly.
.jpg)
.jpg)
No comments:
Post a Comment